Raised garden beds, also known as planting boxes or garden containers, offer numerous benefits for gardening enthusiasts. They provide better soil drainage, prevent soil erosion, and offer easier access and maintenance. Constructing your own containers not only allows for customization but also ensures a cost-effective approach to gardening. In this article, we will guide you through the process of building raised garden beds, empowering you to create a productive and beautiful garden space.
Selecting the Location
Choose a suitable location for your raised garden beds that receives ample sunlight and is easily accessible for watering and maintenance. Ensure that the area is level or can be leveled before construction to ensure stability and prevent water pooling.
Selecting the Right Material
Select a suitable material for building your raised beds. Common options include wood, concrete blocks, bricks, or even repurposed materials like old tires or galvanized steel. Wood is a popular choice due to its affordability, versatility, and ease of construction.
Determining the Size and Shape
Decide on the dimensions and shape of your raised beds based on your available space and gardening needs. Consider factors such as reachability from all sides, ease of maintenance, and compatibility with your garden design. Popular dimensions range from 3 feet (0.9 meters) to 4 feet (1.2 meters) wide, with lengths varying based on your available space.
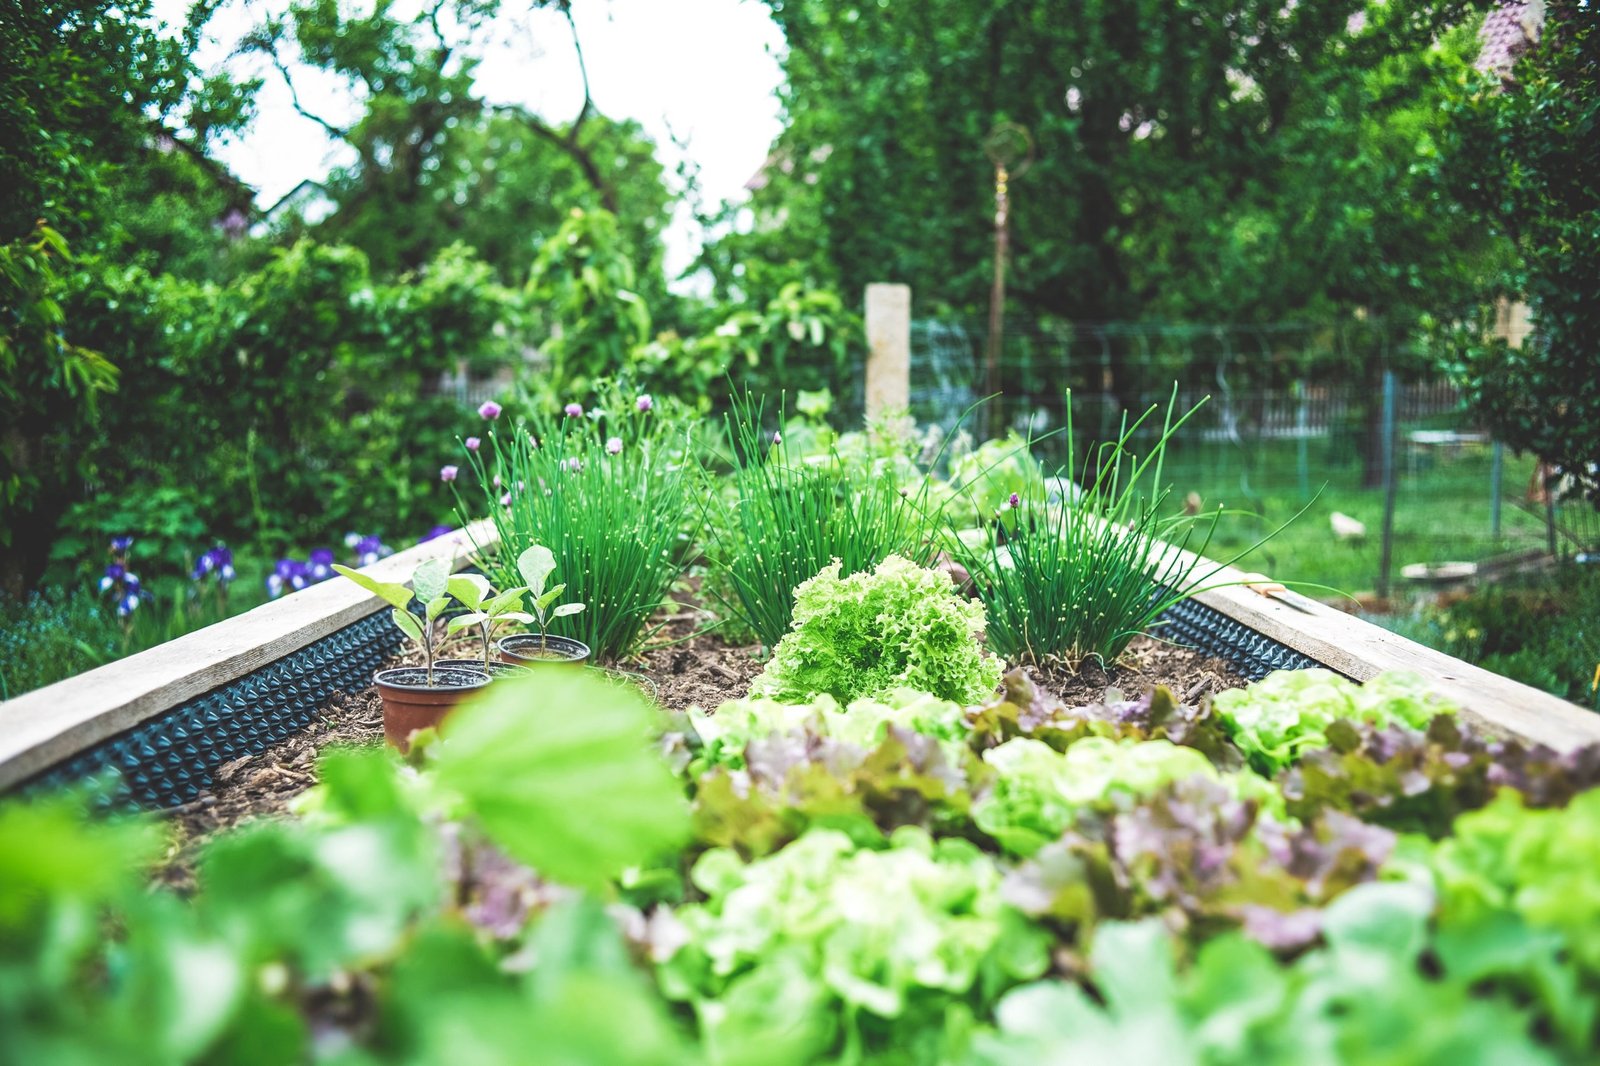
Building the Raised Bed
Wood Construction:
- Cut the boards to the desired lengths for the sides of the bed.
- Assemble the boards at the corners to form a rectangular shape, securing them with exterior-grade screws or galvanized nails.
- Attach additional support in the center of longer sides to prevent bowing or warping.
- Place the constructed bed in the chosen location, ensuring it is level and properly aligned.
- To prevent wood from rotting, you can lightly burn the inside of the container with a small blowtorch.
Concrete Blocks or Bricks
- Lay out the blocks or bricks in the desired shape and size, ensuring they are level and aligned.
- Stack the blocks or bricks, securing them with mortar if desired, to create the walls of the raised bed.
- Fill any gaps or holes between the blocks or bricks with soil or gravel.
Preparing the Soil
Before filling the raised bed with soil, remove any grass or weeds from the area. If desired, lay a weed barrier fabric at the bottom of the bed to prevent weed growth. Fill the raised bed with a mixture of high-quality garden soil, compost, and organic matter, ensuring it is well-draining and nutrient-rich.
Planting and Maintenance
Once your raised beds are constructed and filled with soil, it’s time to start planting. Consider companion planting, crop rotation, and spacing guidelines for optimal plant growth and productivity. Water the plants regularly, ensuring the soil remains moist but not waterlogged. Monitor for pests and diseases, and address any issues promptly.
Seasonal Considerations
Adjust your gardening practices based on seasonal variations. Protect your plants from frost, excessive heat, or heavy rainfall by using row covers, shade cloth, or mulch as needed. Adjust watering frequency and consider using organic fertilizers or compost to provide nutrients throughout the growing season.
Building raised garden beds provides an excellent opportunity to create a productive and visually appealing gardening space. By carefully selecting materials, constructing sturdy beds, and providing nutrient-rich soil, you can cultivate a thriving garden. Enjoy the benefits of raised beds, including improved drainage, better plant health, and easier maintenance. Get creative, customize your raised beds, and embark on a rewarding gardening journey in your newly constructed planting boxes.


Leave a Reply